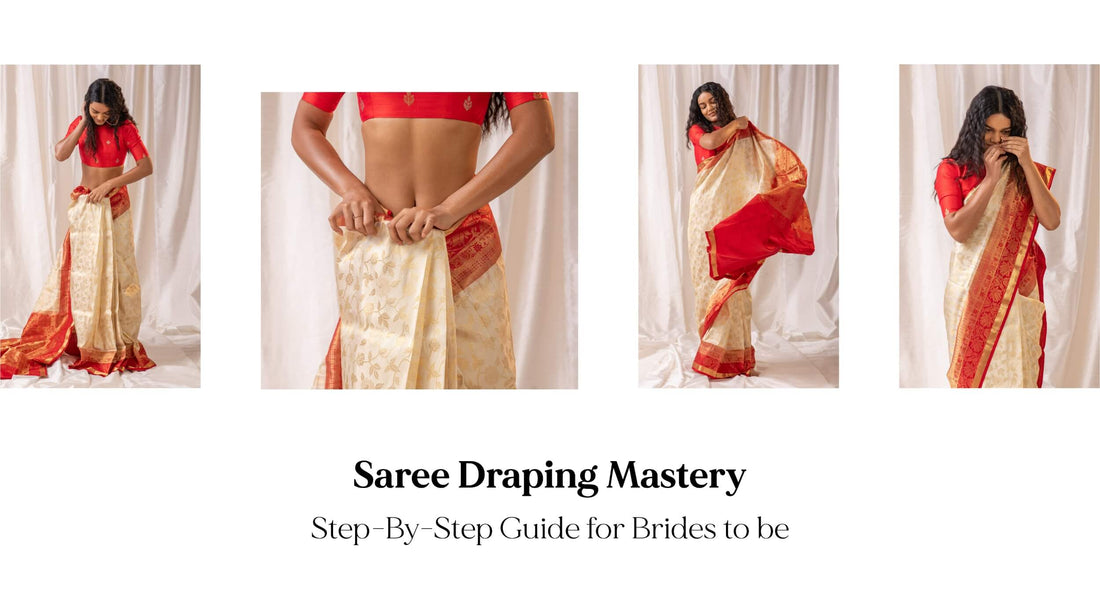
Saree Draping Mastery: Step-By-Step Guide For Brides To Be
The wedding day, undoubtedly, is one of the most significant moments in a woman's life. Every detail matters, and the bridal saree is no exception. The grace and elegance of a well-draped saree can add an unparalleled charm to the bride's overall look. In this blog, we will embark on a journey to master the art of saree draping, providing brides-to-be with step-by-step bridal saree wearing instructions and tips to achieve the perfect bridal look.
Today, join us on a journey through the art of donning and styling pastel silk sarees, as we unlock the secrets to radiating elegance with every ethereal fold. From the delicate intricacies of draping to the subtle dance of colours, this guide is your passport to mastering the language of pastel silk saree fashion.
Popular Sarees For Brides To Be
Before we dive into the step by step saree draping guide and different styles of saree draping for bride, let's explore the allure of some popular bridal sarees that have stood the test of time, each telling a unique story through its weave and design.
1. Banarasi Silk Saree
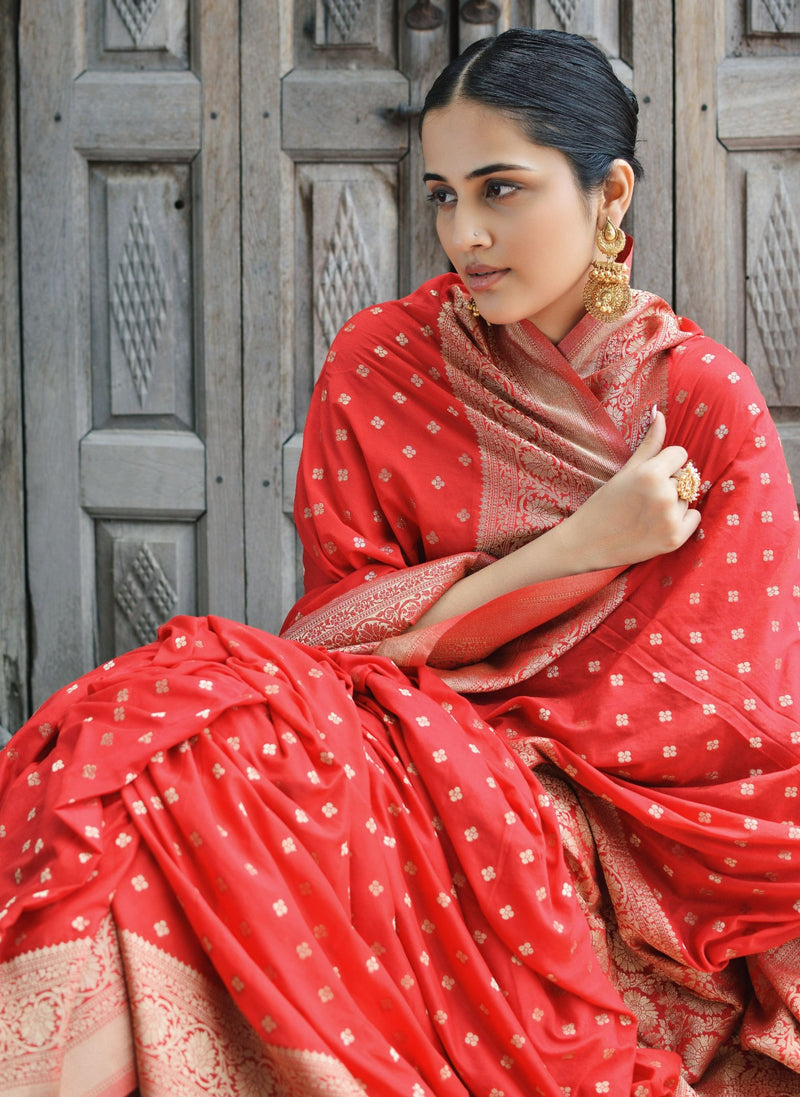
The Banarasi Silk Saree is a true embodiment of timeless elegance and sophistication. The Banarasi silk saree is a favourite among brides who seek to embrace tradition with a touch of royal splendour. The detailed craftsmanship and vibrant colours make it a classic choice for weddings, symbolising opulence and grace.
2. Tissue Silk Saree
For brides who appreciate the delicate balance between tradition and modernity, the Tissue Silk Saree is a perfect choice. Its lightweight and airy texture make it an ideal option for brides who want to move with ease while exuding a sense of grace. Tissue silk sarees often come adorned with subtle embellishments, adding a touch of sophistication without compromising on comfort.

3. Kanjivaram Silk Saree
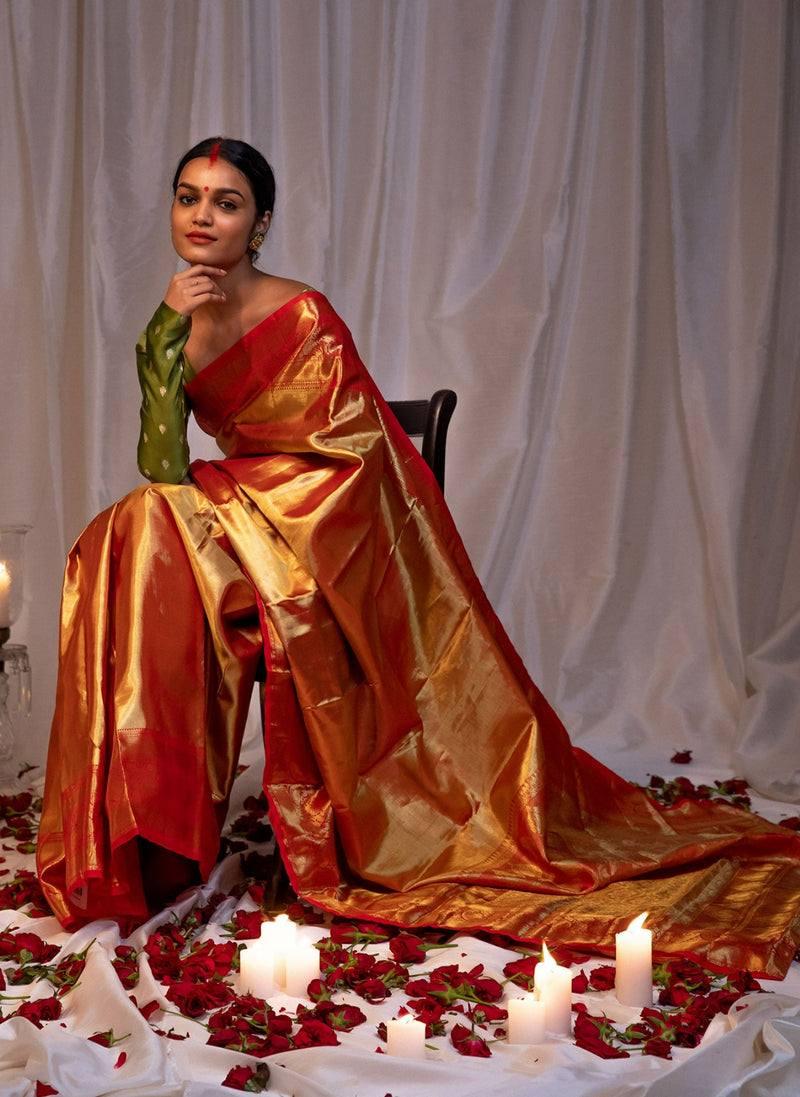
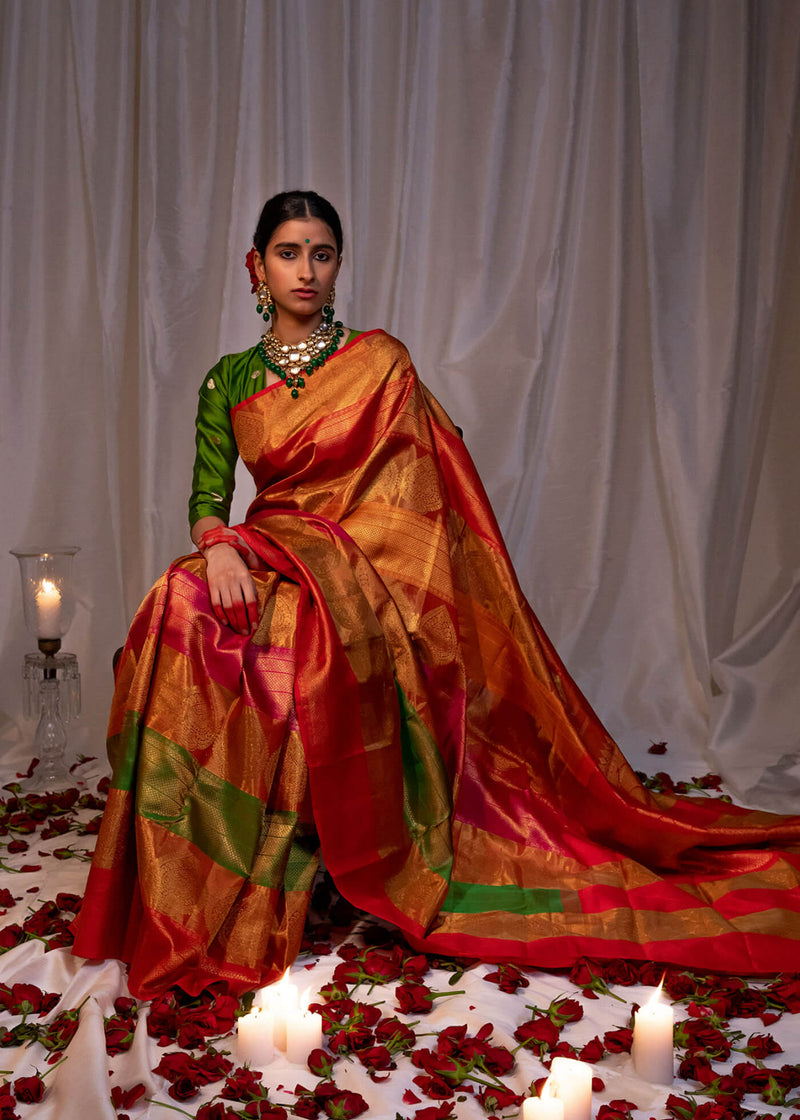
The Kanjivaram Silk Saree is a testament to the rich cultural heritage of South India. Known for its bold colours, broad borders, and intricate zari work, this saree is a symbol of tradition and grandeur. Brides who choose the Kanjivaram Silk Saree embrace the richness of South Indian culture, making a bold and regal statement on their wedding day.

For a variety of budget-friendly options, don’t forget to check out our Kanjivaram sarees for brides on a budget! Moreover, for a perfect bridal look with a Kanjivaram saree don’t forget to check out our blog.
4. Georgette Brocade
For the bride who desires a perfect blend of tradition and modern flair, the Georgette Brocade Saree is an excellent choice. The lightweight georgette fabric ensures comfort, while the brocade detailing adds a touch of glamour and intricacy.

Popular Saree Draping Styles For Brides
When delving into the art of saree draping mastery for brides, whether it's a delicate tissue silk saree or an opulent bridal Kanjivaram saree, it's essential to be acquainted with various styles of bridal saree draping. Here, we are presenting these distinctive draping styles.
1. Nivi Style Draping
2. Front Pallu Draping
3. Lehenga Style Draping
4. Traditional Bengali Style Draping
5. Belted Saree Draping
Step By Step Nivi Style Saree Draping For Brides
For brides seeking a classic and timeless look, the Nivi style saree draping is an excellent choice. Here's a step-by-step Nivi style bridal saree wearing instructions:
Step 1: Begin with the Basics
Start by wearing a well-fitted blouse and a matching petticoat. Ensure that the petticoat sits at your natural waistline for the saree to drape seamlessly.
Step 2: Tuck and Drape
Tuck the non-pallu end of the saree into the petticoat, starting from the right side and going all the way around to the left. Make neat and equal pleats, adjusting the length according to your comfort.
Step 3: Forming the Pallu
Bring the remaining saree around your body to the front, from left to right, and drape it over your left shoulder. The length of the pallu can vary based on personal preference, but for a traditional Nivi style, let it fall a little below knee-length.
Step 4: Pleat the Pallu
Create pleats in the pallu, ensuring they are even and well-defined. The number of pleats depends on the length of the pallu and your personal style. Once pleated, secure them with a pin to your left shoulder to keep them in place.
Step 5: Final Adjustments
Take a moment to adjust the pleats and ensure that the saree is draped evenly. Check the length of the pallu, making sure it complements the overall look. Tug and adjust where needed to achieve the desired neatness.
Front Pallu Style Bridal Saree Wearing Instructions
For a distinctive and contemporary bridal look, the front pallu style is an excellent choice. Here's your step-by-step pallu style wedding saree draping tip:
Step 1: Begin with the Right Drape
Start by tucking the saree on the right side of your waist, ensuring the pallu end is longer than the non-pallu end.
Step 2: Make Neat Pleats
Gather the fabric to create neat pleats, ensuring they are even and well-defined. The number of pleats may vary based on personal preference, but around 5-7 pleats usually works well.
Step 3: Arrange the Pleats on the Left Side
Now, take the pleats and arrange them on the left side of your waist. The pleats should fall gracefully, enhancing the overall look.
Step 4: Secure with a Waist Belt
To accentuate the front pallu style, use a waist belt to secure the pleats in place. This not only adds a decorative element but also ensures the pleats stay in position throughout the ceremony.
Step 5: Drape the Pallu Across the Front
Take the longer end of the pallu and drape it across the front, letting it fall elegantly over the left shoulder. Adjust the length according to your preference.
Step 6: Pin in Place
To keep the pallu secure, use discreet pins to fasten it to the blouse on the left shoulder. Make sure the pins are well-concealed for a seamless look.
Step 7: Final Adjustments
Take a moment to ensure that the pleats are neatly arranged, and the pallu drapes elegantly across the front. Adjust any loose ends or uneven sections for a polished finish.
Lehenga Style Wedding Saree Draping Tips
When it comes to bridal elegance, the lehenga style saree draping is a perfect fusion of traditional grace and contemporary style. Follow these step-by-step instructions to achieve the stunning lehenga style for your wedding saree:
Step 1: Begin With the Lehenga Skirt
Start by wearing the lehenga skirt and tucking in the pleats as you would with a regular lehenga. Ensure the skirt sits comfortably on your waist.
Step 2: Drape the Saree from the Back
Take one end of the saree, bring it from the back to the front, and tuck it into the lehenga skirt on the left side. Leave the pallu to end longer for the final drape.
Step 3: Create Pleats for the Pallu
With the remaining length, create neat pleats for the pallu. The number of pleats can vary based on personal preference, but around 5-7 pleats usually works well.
Step 4: Arrange Pleats Over the Left Shoulder
Bring the pleats over your left shoulder, allowing them to cascade down gracefully. Adjust the length of the pallu to your liking, keeping it longer for a more dramatic look.
Step 5: Pin in Place
Secure the pleats on the left shoulder using discreet pins. Ensure the pallu is draped securely, and the pins are well-concealed for a seamless finish.
Step 6: Final Adjustments
Take a moment to ensure that the pleats and the pallu fall elegantly. Adjust any loose ends or uneven sections for a polished and picture-perfect lehenga style saree drape.
Bengali Style Bridal Saree Wearing Instructions
The Bengali style of draping a saree is not just a tradition; it's a celebration of culture and grace. Follow these step-by-step instructions to achieve the classic Bengali style for your bridal saree:
Step 1: Start with Tucking
Tuck one end of the saree into the right side of your waist, making sure the length is comfortable and allows for easy movement.
Step 2: Make Pleats
Create pleats with the remaining length of the saree. The number of pleats can vary, but aim for around 5-7 pleats for a traditional look.
Step 3: Arrange Pleats on Left Shoulder
Take the pleats and drape them over your left shoulder, allowing them to fall gracefully. Adjust the length according to your preference.
Step 4: Pin in Place
Secure the pleats on the left shoulder using discreet pins. This ensures that the saree stays in place throughout the festivities.
Step 5: Adjust the Pallu
Adjust the pallu to cover the head, symbolising modesty and tradition. The pallu should drape over the left shoulder, adding to the overall grace of the Bengali saree.
Step 6: Final Touches
Take a moment to ensure that the pleats and the pallu are neatly arranged. Adjust any loose ends or uneven sections for a polished and authentic Bengali bridal saree look.
Essential Accessories For the Perfect Saree Draping Experience
Here's a quick checklist to ensure you have everything you need for a perfect bridal saree draping experience:
-
Safety Pins:
A stash of safety pins in different sizes is a lifesaver.
-
Waist Belt:
Waist belt not only adds a touch of elegance but also keeps your pleats and pallu securely in position.
-
Bobby Pins/Hair Clips:
To tame any loose strands and keep your hair neat, bobby pins or hair clips are essential.
-
Matching Blouse Pins:
Ensure you have matching or complementary blouse pins to discreetly secure your saree to the blouse.
-
Saree Shapewear/Inskirt:
Depending on your comfort level, consider wearing shapewear or a well-fitted inskirt to enhance the fall of the saree and make draping easier.
-
Setting Spray/Hairpins for Pallu:
If you're draping the pallu over your head or shoulder, a setting spray for your hair and some extra hairpins can help maintain the desired style throughout the day.
-
Full-Length Mirror:
A full-length mirror is indispensable for checking your entire look.
Summing Up!
In mastering the art of saree draping with our step-by-step guide, envision yourself as the reigning queen on your special day. With these insights, may your journey to saree draping mastery be as enchanting as the bridal look you're set to create. May you not just wear the saree but embody the grace, tradition, and individuality it represents.

